Table of Contents
- Marty (1985)
- Inconspicuous Marty (2015)
- Eastwood Marty (2015)
- Marty’s Radiation Suit
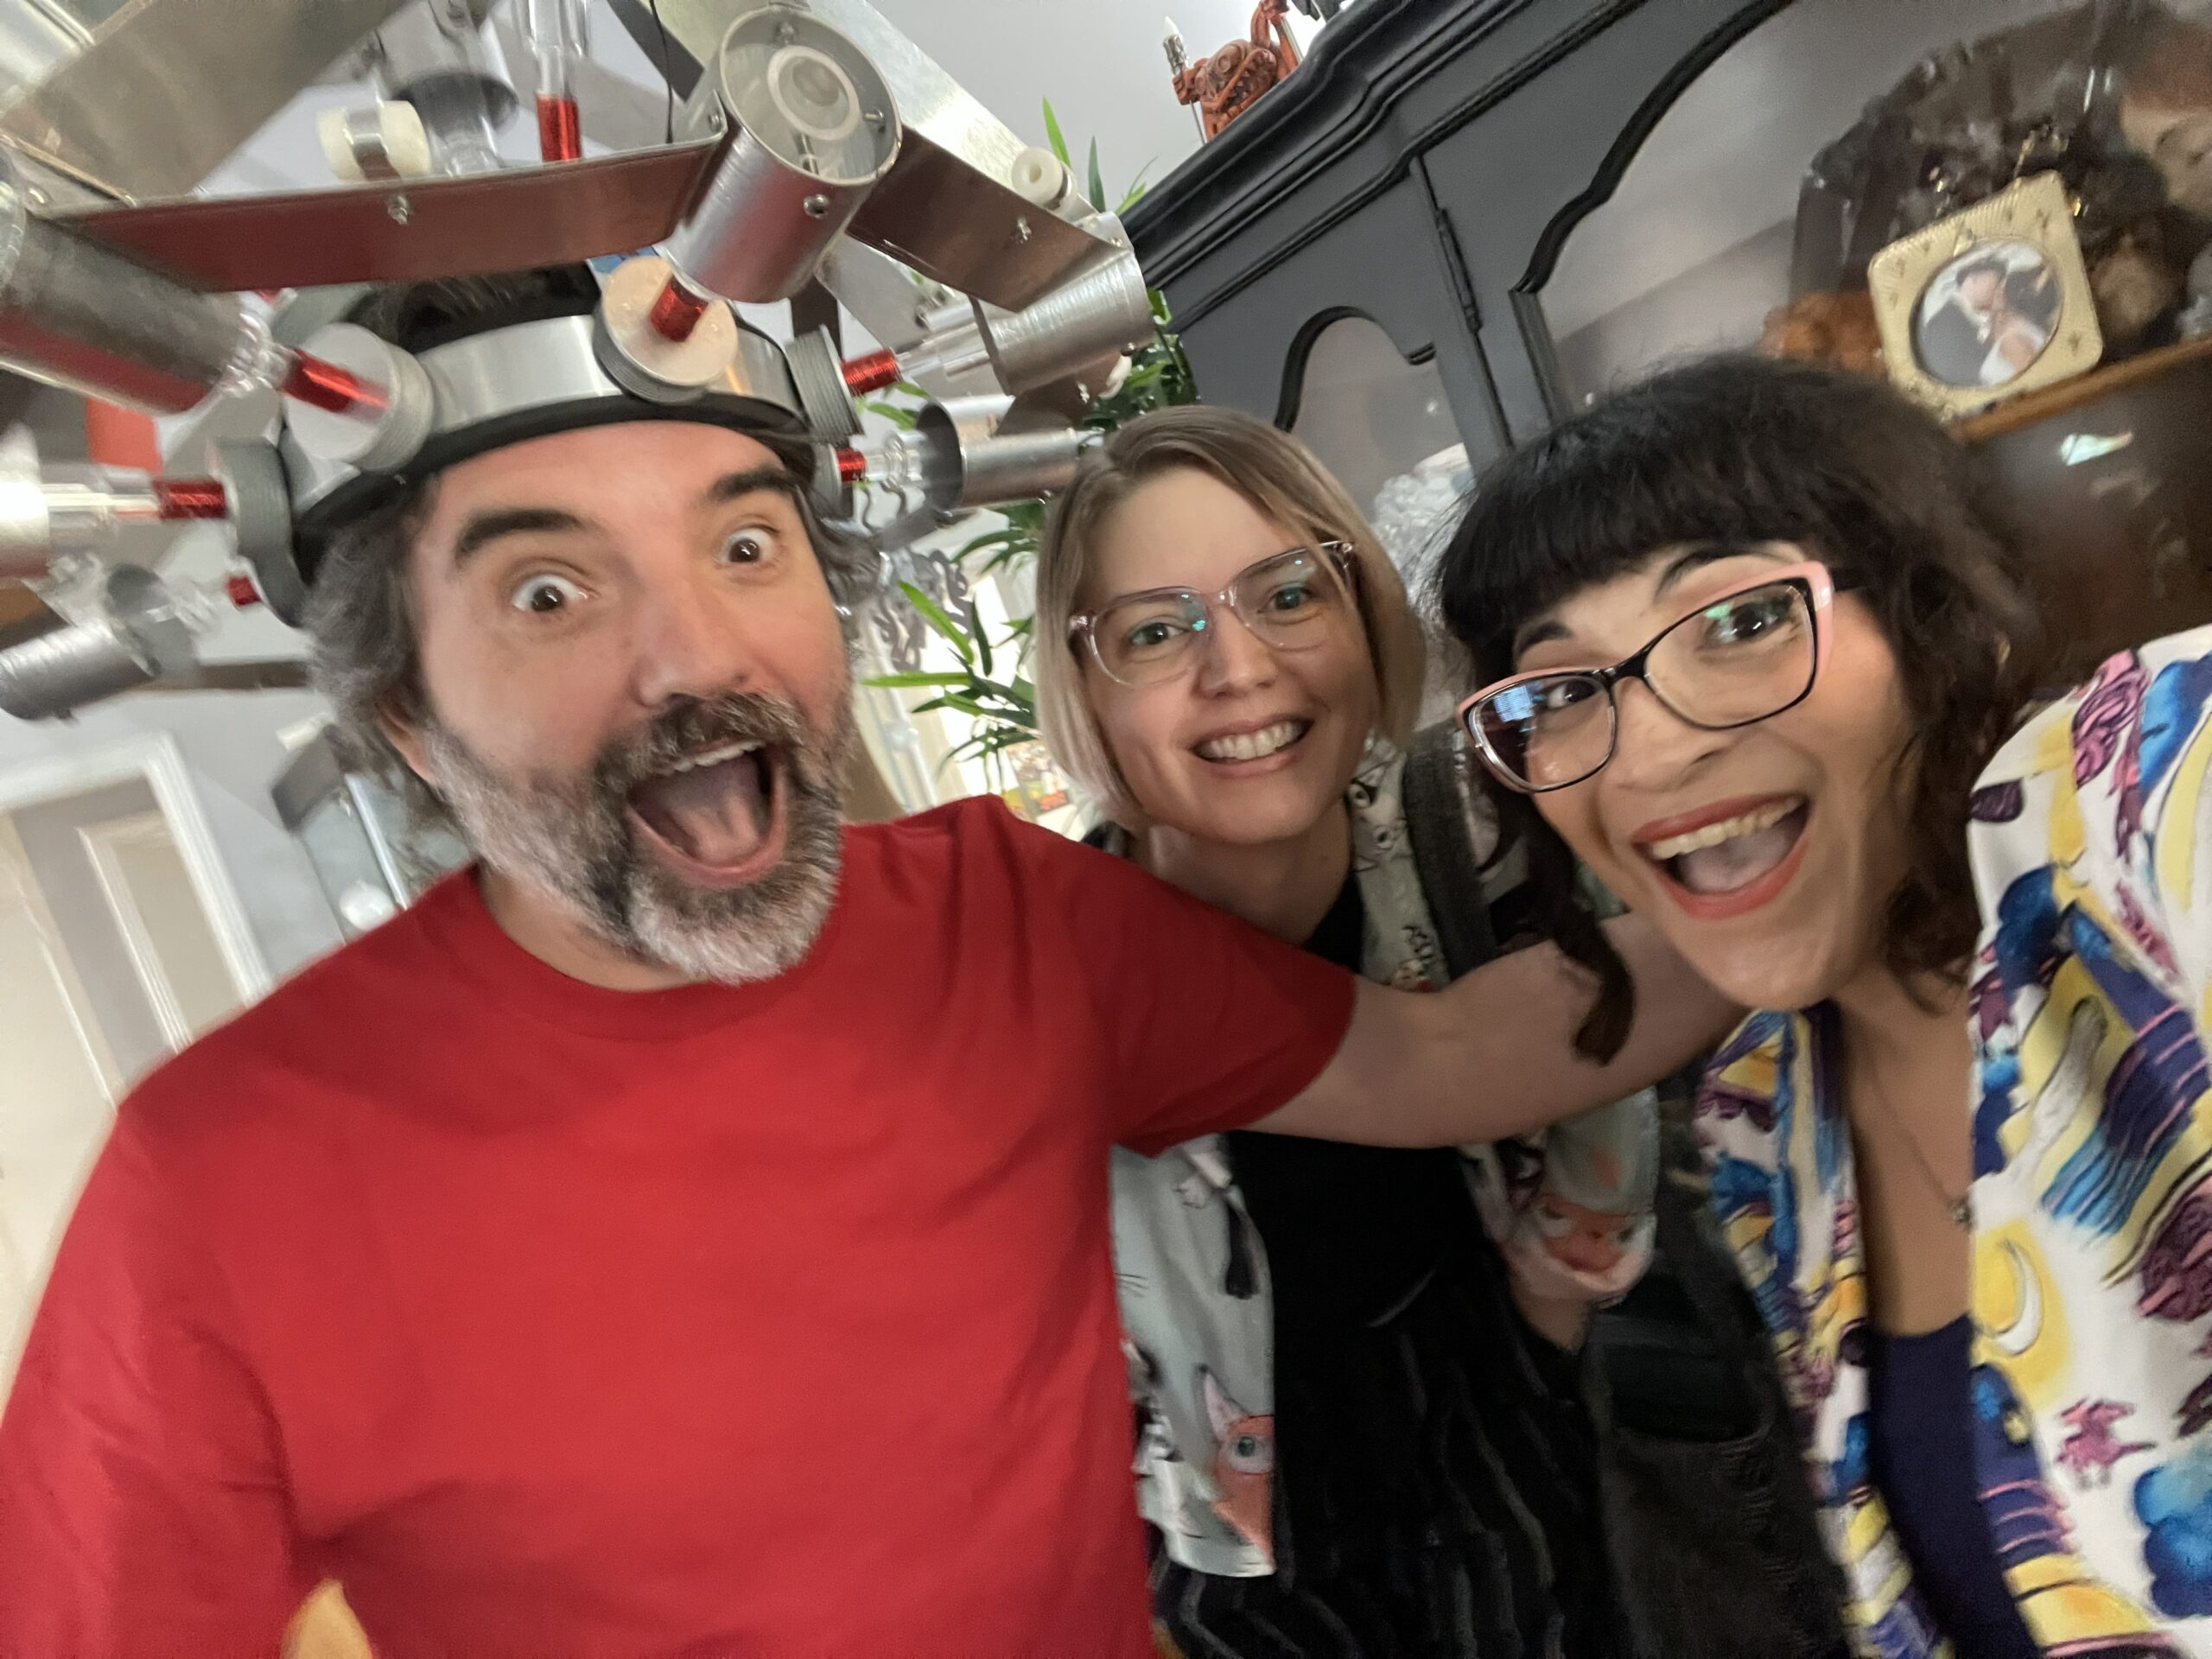
- Doc’s Brain Wave Analyzer
- Audition Judges (1985)
- Marty’s Band (1985)
- Concert Crowd (1985)
Marty (1985)


Our main character and lead “Marty” (who we sometimes referred to as “Marty Prime”) was the easiest look to put together. Since we only had a tiny budget, our goal here was less “perfect cosplay replica” and more focused on creating obvious recognition that this was our Marty McFly. No More Kings’ lead singer Pete already had most of these great items in his wardrobe, so we just added a few small touches: His iconic watch and shoes.
In the first movie, Marty wore a Casio CA-50 watch. However, he wore a Casio-CA53 in the two sequels, so luckily for us this model watch was still available for sale today for only $25. For Marty’s shoes, initially we weren’t able to find a pair matching the famous white and red Nike Bruins. On the first day of our shoot, our VFX supervisor (Milan) showed up wearing a pair that happened to be in Pete’s size. He happened to have an extra pair of Cars-themed Crocs in his car, so he lent Pete his shoes for the duration of the shoot. Thank you again Milan for your brave sacrifice.
For Doc’s stolen case of plutonium, Erik volunteered an old Panasonic camera case he had been keeping in the garage. He personally completely cleaned it up, polished all the metal, and painted it the perfect shade of yellow. For the final touch, I recreated the radioactive labels in Illustrator and had them printed on sticker paper.


Inconspicuous Marty (2015)


In 2015, Marty runs into another version of himself– Marty McFly from BTTF 2 after Doc asks him to change into something “inconspicuous”. For this look, we built on the Marty Prime outfit by layering a dark jacket over Prime’s red shirt and plaid overshirt. We topped it off with a black trilby hat similar to the Stetson trilby worn in BTTF 2, a cheap pair of vintage Ray-Ban style black sunglasses, and a custom made walkie-talkie.
The Radio Shack Archer Space Patrol walkie talkies that Doc and Marty use in BTTF 2 were not available anymore, so I had to make a replica. I designed a 3D model for 3D printing based on photos I could find online, utilizing a used a real antenna and power switch. For the back label, I recreated the design in Photoshop and printed it on metallic sticker paper


Eastwood Marty (2015)


This cameo of “Clint Eastwood” Marty is my absolute favorite gag in the video. BTTF3 is my favorite of the trilogy, so I was extra motivated to to create something long-lasting for this look. I managed to find the perfect flat top Gaucho-style cowboy hat at a thrift shop (while hunting for some Victorian lamps for Doc’s house) and a blue neck handkerchief, but the poncho was a bit of a challenge. The obvious costuming influence of the original BTTF3 production design was Clint Eastwood’s Man with No Name from Sergio Leone’s Dollars Trilogy, but Marty’s poncho design was completely custom though inspired. I knew worst case scenario I could nab a Man With No Name poncho online quickly, so I had some time to see if I had any better options.
While working on the rest of the production design, I kept making a running joke about threating to buy a loom and learning to weave my own replica poncho. Would you believe that the universe lovingly provided a used loom at a thrift shop? After adding my own hardware to assemble it, my talented production assistant Samantha Lockwood figured out how to wrap the warp on the loom and started a good portion of the weave. Thus followed my personal descent into madness as I combed through screenshots, reference books, BTS costume photos, auction photos, and detailed Hot Toys replicas to try to figure out the correct accurate replica pattern.


After finally settling and designing an “accurate” pattern, I winded down my nights after work by weaving. And weaving. And weaving. I made it pretty far and finished some panels, but in the end I just ran out of time, ironically. The Man with No Name poncho still worked out beautifully, and still accomplished the messaging goal of “this is Marty from BTTF3”. The final deep cut touch of the three Presto logs were courtesy of Mike Carey, our DeLorean Time Machine replica owner (and fellow BTTF3 fan). Don’t worry– I’m still planning to finish my glorious poncho one day.


Marty’s Radiation Suit


I can’t stress enough how much I hate sewing. Since this is another iconic costume from the original movie, I thought it might be easy to find a replica. Nope.
After researching, I learned that the original jumpsuit was just a yellow paper painter’s coveralls, which was easy to find a suitable cheap version. The helmet had to be completely custom made because there just isn’t anything similar that matches the look and silhouette of the movie’s suit (vs generic radiation/hazmat suit). I started with the easiest (for me) part first– I designed the face mask grill in Sketchup, 3D printed it, and painted it silver.
For the helmet base, I used a white safety hard hat helmet with an aluminum face shield visor attachment and a dark UV shield. I then drafted the hood and bib from some yellow plastic tablecloths to confirm proportions and silhouette for the final pattern, which my husband was kind enough to model for me to make sure the draping worked with human shoulders.
Using my draft pattern, I cut the final yellow and orange cotton fabric and sewed it all together. (Side note: I hate sewing and somehow inevitably end up sewing the wrong sides together, hence the post-it notes to myself in the photos below. Spoilers: It didn’t work, but I always have a seam ripper handy.) I used EVA foam to add structure to the orange strip, and attached the completed hood to the helmet with velcro. For the large metal rivets, I used an old model making trick of painting googly eyes silver. Fun fact: You can hear them subtly rattle if you shake your head really fast in the helmet.


Doc’s Brain Wave Analyzer


This… was very, very hard, especially because it required a lot of metal fabrication and little high resolution references on the original prop design. We had to completely design and fabricate this ourselves without any existing plans or files.
I created the base out of thick EVA foam pieces glued together with contact cement, then cut and drilled strips of aluminum for the metal bands. After picking up some clear acrylic rods, I designed the rest of the sensor pieces in Sketchup for 3D printing while my cat monitored the all the printing parts. A smooth surface is required to create a convincing faux metal surface, so all th parts were sanded and sprayed with filler primer. The cups were painted silver and then Erik wrapped them in aluminum tape. The coiled sensor bases required prep: I sanded and burnished the flat surfaces, then painted them silver and grey for the simulated wire.
I attached the bases to the aluminum headpiece band with nut and bolt fasteners before moving on to the acrylic rods and cylinders. We cut and drilled them for attachment in the sensors, which were held in place with another custom 3D printed piece in semi-clear PLA. Once all the sensors were attached to the headpiece, I wrapped red jewelry wire around the acrylic rod bases before we moves on to the geodesic flat metal connector pieces. Using card stock, we measured and cut templates to use for the final aluminum metal pieces. Erik cut, drilled, and attached all of these pieces to the headpiece, along with another custom designed 3D printed white wire harnesses.
Our crew (Hutch and Mitch) finished all the wiring looms as the final detail.


Audition Judges (1985)


For our panel of unenthused judges, we needed looks that weren’t too darn loud (*rimshot*). Our cast supplied their own wardrobe based on the overall feeling of the reference photo.
Marty’s Band (1985)


For our 80’s based band, we wanted a look that was familiar to Marty’s band in BTTF1 (The Pinheads) without needing to be exact matches. The band and cast supplied their own wardrobe based on the reference image, though I did supply our drummer (aka my co-director Erik) with a Hill Valley tshirt and salmon/purple plaid overshirt.
Concert Crowd (1985)

For our concert finale, I put together a visual reference guide for our extras on the variety of different 80s looks I was looking for. My goal was to have more than the usual neon color 80s stereotype look– I wanted our crowd to include folks who were also 80s rock, pop, nerd, and more. Our extras provided their own wardrobe and nailed it.